Filing Nil Returns with the Kenya Revenue Authority (KRA) is an important task for all registered taxpayers, even if you have no income to report. Whether you’re employed, running a business, or a self-employed professional, submitting Nil Returns ensures that you’re compliant with KRA regulations. Failing to file returns, even when there’s no income, can lead to penalties and legal consequences.
In this comprehensive guide, we’ll walk you through the simple steps to file Nil Returns and help you stay on top of your tax obligations in Kenya.
What Are Nil Returns?
Nil Returns are filed when a taxpayer has no taxable income or business activities during the tax period. It’s a necessary process for those who are not required to pay taxes but are still registered with KRA. Filing Nil Returns maintains your compliance with Kenyan tax laws and avoids penalties for failing to submit returns.
Why File Nil Returns?
- Stay Compliant with KRA: It’s a legal requirement for all registered taxpayers, even those with no taxable income.
- Avoid Penalties: Late filing or failure to file Nil Returns may result in fines or other legal issues.
- Maintain Good Standing: Regularly filing Nil Returns keeps your tax records up to date and helps avoid potential audits.
Requirements for Filing Nil Returns
Before you start the filing process, ensure that you have the following:
- KRA PIN: A unique personal identification number from KRA for all individuals and businesses.
- iTax Account Credentials: Your iTax User ID and password to log in to the KRA portal.
- Internet Connection: You need internet access to complete the filing process via the KRA website or mobile app.
- Email Account: An active email address to receive confirmation and receipts of your submission.
Step-by-Step Process to File Nil Returns
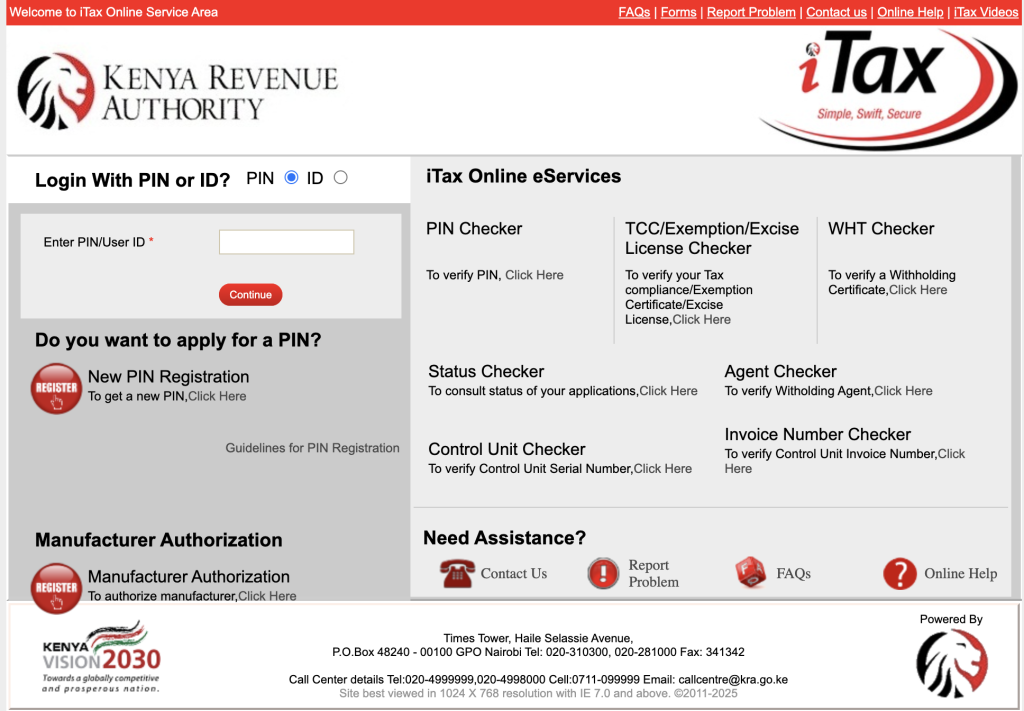
Step 1: Access the KRA Website
- Go to the KRA Website.
- Click on iTax Portal and log in using your KRA PIN and password.
Step 2: Navigate to the Return Menu
- Once logged in, locate and click on the Return Menu on your dashboard.
- Select “File Nil Returns” under the available options.
Step 3: Choose the Appropriate Tax Return
- Select the Nil Return option that applies to you. If you’re an individual with no income, you will file under Individual Tax Return (ITR).
Step 4: Fill in the Nil Return Form
- Complete the Nil Return form, which requires you to confirm that you have no taxable income for the specified period.
- Employment Information: Indicate that you are not employed or have no income to report.
- Other Sections: If applicable, ensure you provide any additional details as requested by the system.
Step 5: Submit the Nil Return
- Review the information for accuracy.
- After verifying, submit the form by clicking the Submit button.
- Once submitted, a “Return Receipt Generated” message will appear, confirming that your Nil Return has been filed.
Step 6: Download Your Return Receipt
- After submission, download and save the KRA Return Receipt for your records. This is your proof of filing and should be kept for future reference.
How to File Nil Returns Using the KRA Mobile App
KRA has also made it easier to file Nil Returns through their mobile app. Here’s how:
Step 1: Download the iTax App
- Download the official iTax mobile app from the Google Play Store or Apple App Store.
Step 2: Log in and Access Nil Returns
- Open the app, and log in using your KRA PIN and credentials.
- Navigate to the Return Menu and select “File Nil Returns”.
Step 3: Complete and Submit the Nil Return
- Fill out the Nil Return form, then submit it once you’ve filled in all the required details.
- Once submitted, you will receive confirmation and a receipt for your records.
Penalties for Non-Compliance
It’s crucial to file your Nil Returns on time to avoid penalties. KRA imposes fines for late filing or failure to submit returns:
- Individual Taxpayers: Ksh. 2,000 or 5% of the tax due for late filing.
- Non-Individual Taxpayers: Ksh. 20,000 or 5% of the tax due for late filing.
These penalties can escalate if multiple offenses occur, so it’s important to adhere to the deadlines.
Key Tips for Filing Nil Returns
- File Before the Deadline: Always file your Nil Returns well before the due date to avoid penalties.
- Keep Documentation: Even with no income, keep your documents up to date, in case KRA requires further information.
- Use the KRA Portal or App: The KRA iTax system is user-friendly and helps streamline the process.
- Stay Organized: If you don’t earn income, file your Nil Returns anyway to remain compliant and avoid unnecessary delays.
Conclusion
Filing Nil Returns is an important responsibility for all taxpayers in Kenya, and it’s easy to do when you understand the process. By following this simple step-by-step guide, you can ensure compliance with KRA regulations and avoid penalties. Whether you file online or through the mobile app, staying on top of your tax obligations helps you maintain good standing with KRA and avoids any future issues.
For more information on tax filing and updates, visit the official KRA website or consult a professional tax advisor.